
Iron On Rhinestone for Clothes That Sparkle Through Every Wash
A plain t-shirt, a tired denim jacket, or a dance costume that needs a lift: iron on rhinestone for clothes is the shortcut that turns any of them into something worth wearing twice. The stones carry their own heat-activated glue on the back, so there is no messy adhesive and no drying time. You position the design, press with heat, and the sparkle is on. The catch is that most failures happen weeks later in the wash, not in the first five minutes. Get the temperature, the pressure, and the fabric right, and the stones stay put through a full season. Here is exactly how.
How Do You Iron On Rhinestones to Clothes?
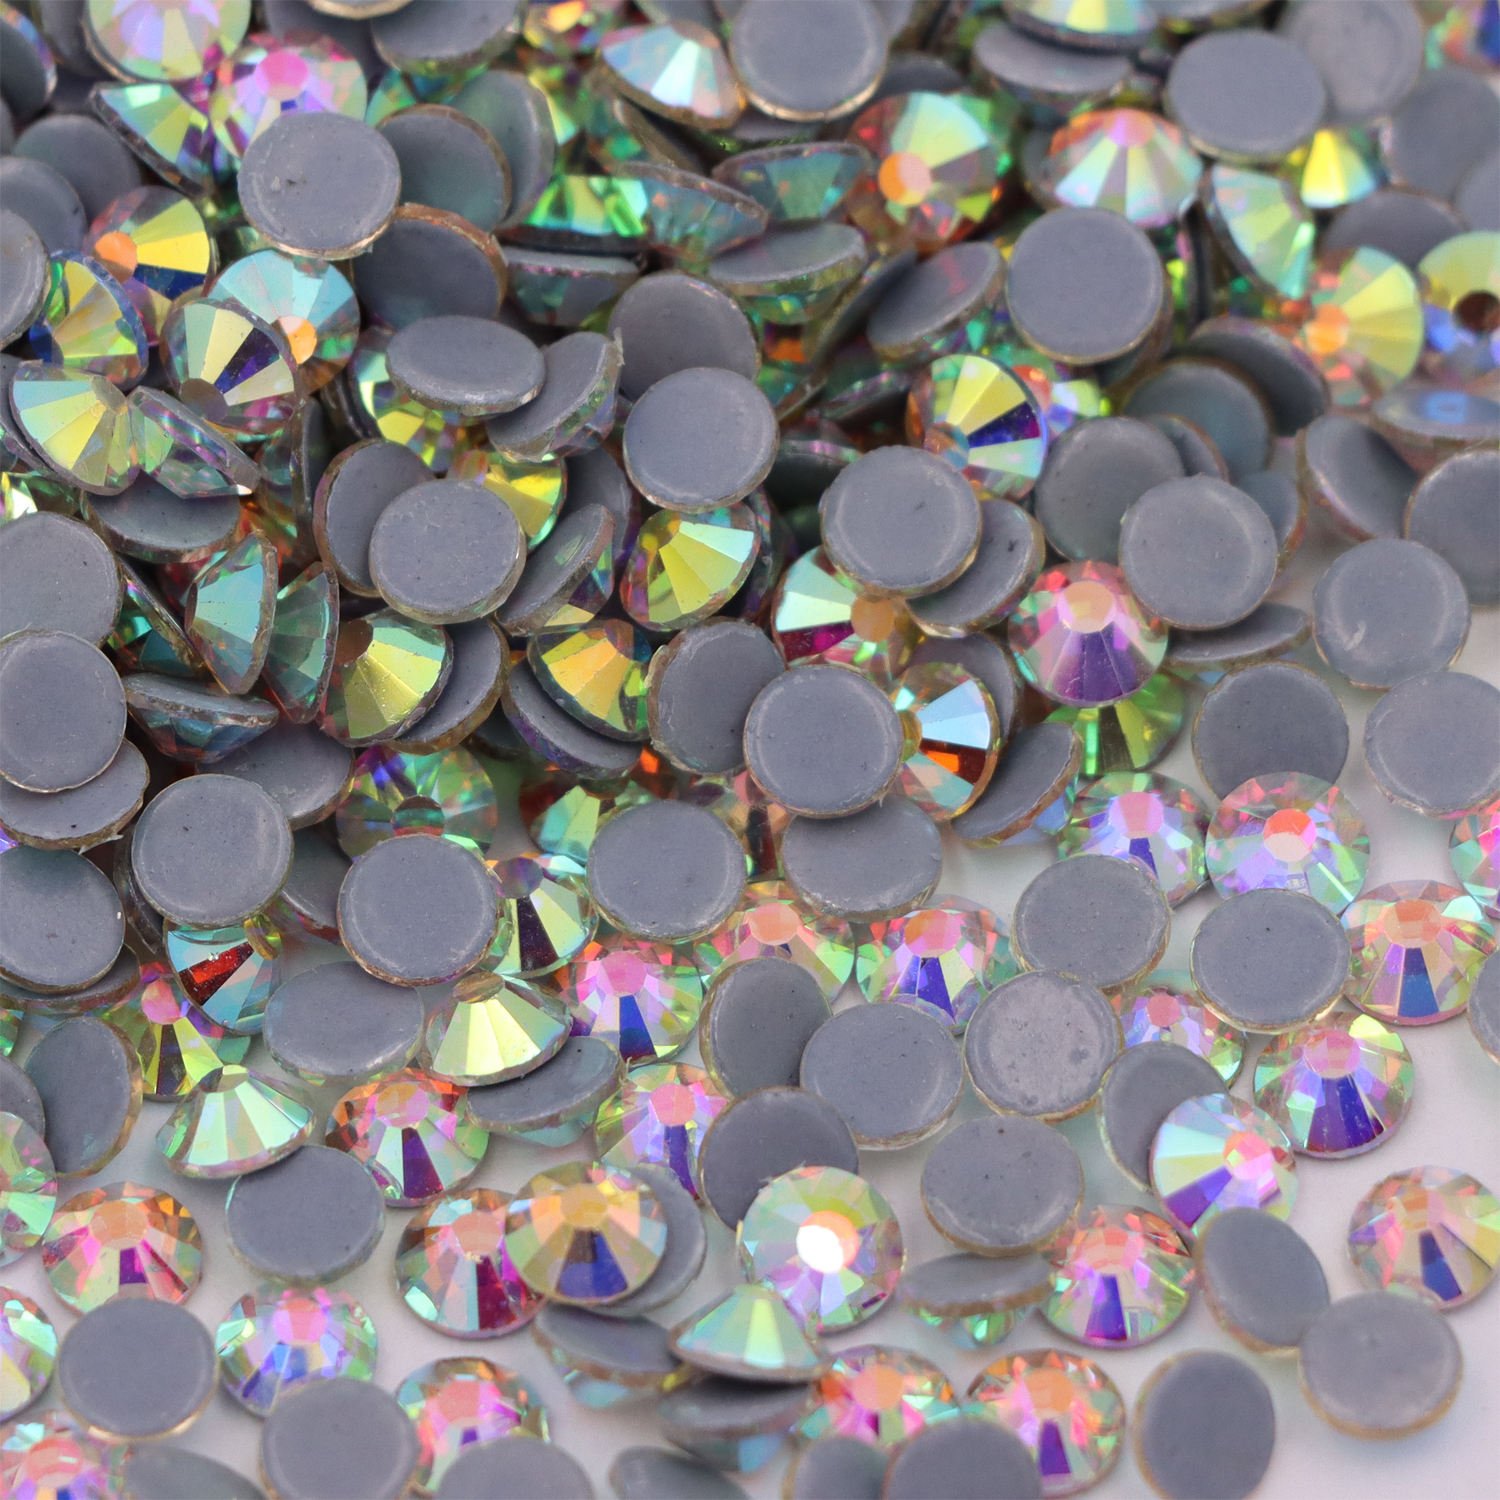
You place each rhinestone glue-side down onto the fabric, cover it with a pressing cloth, and apply heat and pressure for the right amount of time. The heat melts the glue on the back of the stone, the pressure seats it into the fabric, and the stone locks in as it cools. For cotton, press at 165°C with firm, even pressure for about 15 seconds. For stretchy knits, drop to 150°C with lighter pressure so the fabric does not warp.
The order of operations matters more than beginners expect. Lay the garment flat on a firm, heat-safe surface, mark your design, and place only the stones you can press in the next few minutes. Press a small section, let it cool briefly, then move to the next cluster. Placing the whole design at once invites bumped stones and a crooked line. Work in small batches, and the finished piece comes out clean and even instead of wobbly.
A Pressing Cloth Is Not Optional
Never touch a bare iron plate directly to the stones. Direct heat flattens the facets and can melt the foil backing, which is what gives cheap decorated clothes that dull, gray look. A Teflon sheet or a thin cotton cloth between the iron and the stones protects the sparkle and stops glue from transferring to your iron plate. Skip the steam button too, because moisture during pressing weakens the bond before the glue ever gets a chance to cure.
The peel and cure step finishes the job. Let the fabric cool completely, then test the first stone with a fingernail. If it moves, your heat or pressure was off, and you want to find that out on one stone rather than fifty. Once everything is set, wait a full 24 hours before the first wash so the glue can fully cure. That waiting period is the step most people skip, and it is the reason so many first attempts shed in the laundry.
Tweezers with silicone tips are the one small tool that changes the whole experience. Stones stick to fingers and slide out of place, but silicone-tipped tweezers pick up a single stone and set it exactly where you want it without transferring oils from your skin. Oils can interfere with the bond, so handling stones by hand is a quiet way to weaken the very glue you are about to press. A pair of tweezers costs a couple of dollars and fixes both problems at once.
If you are following iron on rhinestone instructions from a pattern or a kit, trust the fabric setting over the stone setting every time. Kits sometimes print one temperature for everything, but cotton, stretch knits, and silk all want different heat. A stone will not be damaged by the lower temperature, but a fabric will be damaged by the higher one, so when the two disagree, protect the fabric. Test on a hidden seam first, and you will catch a wrong setting before it costs you a garment.
Do Iron On Rhinestones Stay On Through Washing?
They stay on when the glue and the press are both right. Quality iron on rhinestone gems are backed with a gray glue that activates around 150–170°C, and once it has been properly pressed and cured, it holds through routine washing. The stones themselves are usually K9 glass with a hardness of 6 to 6.5, which means they resist scratching and stay bright even after the garment has been through the machine dozens of times. Cheaper stones use a yellow glue that softens below 130°C and sheds after a few washes no matter how carefully they were pressed.
The wash routine decides how long the sparkle survives. Turn the garment inside out, wash in cold water, and skip high-heat drying, because heat is what slowly loosens the bond over many cycles. A mesh laundry bag stops the stones from rubbing against zippers and buttons. For a piece you want to keep all season, a gentle cycle or hand wash is the difference between a design that still looks new and one that starts losing stones by the third week.
Which Iron On Rhinestone Fabric Holds Up Best
Stable fabrics hold stones best, which is why denim and cotton are the two most reliable bases for iron on rhinestone fabric work. They do not stretch under the press, so the stones stay exactly where you set them, and the weave gives the melted glue something to grip. Canvas, twill, and most woven fabrics behave the same way, which makes jackets, tote bags, and structured shirts the safest first projects.
Stretchy fabrics are the tricky ones. Spandex, jersey, and performance knits move during pressing and again during wear, and that constant movement works stones loose over time. If you decorate a stretch garment, use the lower temperature, lighter pressure, and a stretch test before the first wash. The design will still hold, but it needs the gentler settings to survive the flex. Thin, slippery fabrics like silk and satin are a third category: they take stones at a low temperature with a protective layer, but they are best reserved for delicate accents rather than heavy coverage.
Where you place the design on the fabric matters almost as much as the fabric itself. High-friction zones like elbows, underarms, and seat areas rub constantly and shed stones faster, so keep the sparkle on low-friction areas like the chest, the back, and the cuffs. A design on the back of a jacket lasts for years; the same design on a sleeve that drags across a desk shows wear within a season. Think about how the garment actually moves before you decide where the stones go.
How Do You Iron On Rhinestone Patches?
A rhinestone patch is a pre-made design where the stones are already arranged on a backing, and you apply it the same way as individual stones but with a longer, steadier press. Position the patch with the stones facing up, cover it with a pressing cloth, and press the entire patch at once at the fabric’s recommended temperature. For a patch on cotton, that is around 165°C for 15 to 20 seconds, holding the iron still so the whole design bonds evenly.
Patches work best on flat, stable areas like the back of a jacket, the front of a tote, or the chest of a shirt, where the whole patch can sit flat against the fabric. On curved or seamed areas, a patch can lift at the edges, so stick to individual stones or strips there. After pressing, let the patch cool completely and check the edges, because the edges are where a patch is most likely to peel. A re-press on any lifted edge fixes it before it becomes a problem.
The most common question about how to iron on rhinestone patches is whether to peel anything, and the answer depends on the patch type. Some patches have a backing film you peel after pressing, the same as a transfer sheet, while others are self-contained and press directly. Read the patch’s own note before you start, because peeling the wrong layer ruins the piece. When in doubt, press through a cloth and peel only what comes away easily after cooling.
Iron On Rhinestone Motifs and Decals by the Design
Iron on rhinestone motifs are the single-shape versions of the same idea: a star, a heart, a butterfly, or a letter that arrives ready to press as one piece. Iron on rhinestone decals refer to the broader category of pre-assembled designs, from a tiny accent to a full back panel, and they are the fastest way to add a finished look without placing stones by hand. A decal of a name, a logo, or a mascot turns an hour of layout work into a single press.
Choosing between motifs, decals, and loose stones comes down to how custom the design is. A motif is perfect when a standard shape does the job. A decal is the answer when the design is specific but repeatable, like a team logo or a name in a set font. Loose stones are for the fully bespoke work, where every stone position is your own decision. Most people mix all three: a decal for the main design, a motif as an accent, and a few loose stones to fill the gaps.
Think about the end wearer when you pick. A dancer’s costume leans on motifs and strips that read from the back of an auditorium, so bold shapes beat fine detail. A boutique piece for a gift leans on a single name decal or a delicate motif, where close-up sparkle matters more than long-distance impact. A personal project, like your own jacket, can afford the loose-stone route because the only customer is you. Matching the form to who will see it keeps the result from feeling either too plain or too busy.
Iron On Rhinestone Designs That Read Well on Clothing
The best iron on rhinestone designs respect the shape of the garment. Borders and bands belong on edges like cuffs, collars, and hems, where a clean line frames the piece. Motifs and larger designs belong on flat panels like the back of a jacket or the chest of a shirt, where they have room to breathe. A design that follows the garment’s natural lines looks intentional; one that floats in the middle of a seam looks like an afterthought. Sketch the design on the garment first with a water-soluble pen or a paper template, step back, and adjust before you press a single stone.
Stone size shapes the impact too. SS6 stones at 2.0mm make a fine, delicate line suited to small accents and evening pieces. SS10 at 2.8mm and SS16 at 4.0mm are the workhorses for borders and motifs that need to read from across a room. Anything larger than SS16 starts to feel heavy on clothing and is better saved for accessories. Match the stone size to how far away the piece will be seen, and the design lands exactly as you pictured it.
Color finish gives you three distinct looks from the same design. Clear stones read crisp and classic, the safe choice for a piece you will wear often. AB-coated stones flash blue and pink as the fabric moves, which is why stage and dance pieces lean on them so heavily. Colored stones in amethyst, emerald, or rose tie the sparkle to a specific outfit or theme. Keep a small stock of each finish, because the same motif in clear versus AB produces a completely different garment in person, and having both lets you match the mood instead of forcing it. Lay a few sample stones on the fabric in daylight before you commit, since the color you see in the packet rarely matches how it reads once it is on the garment.
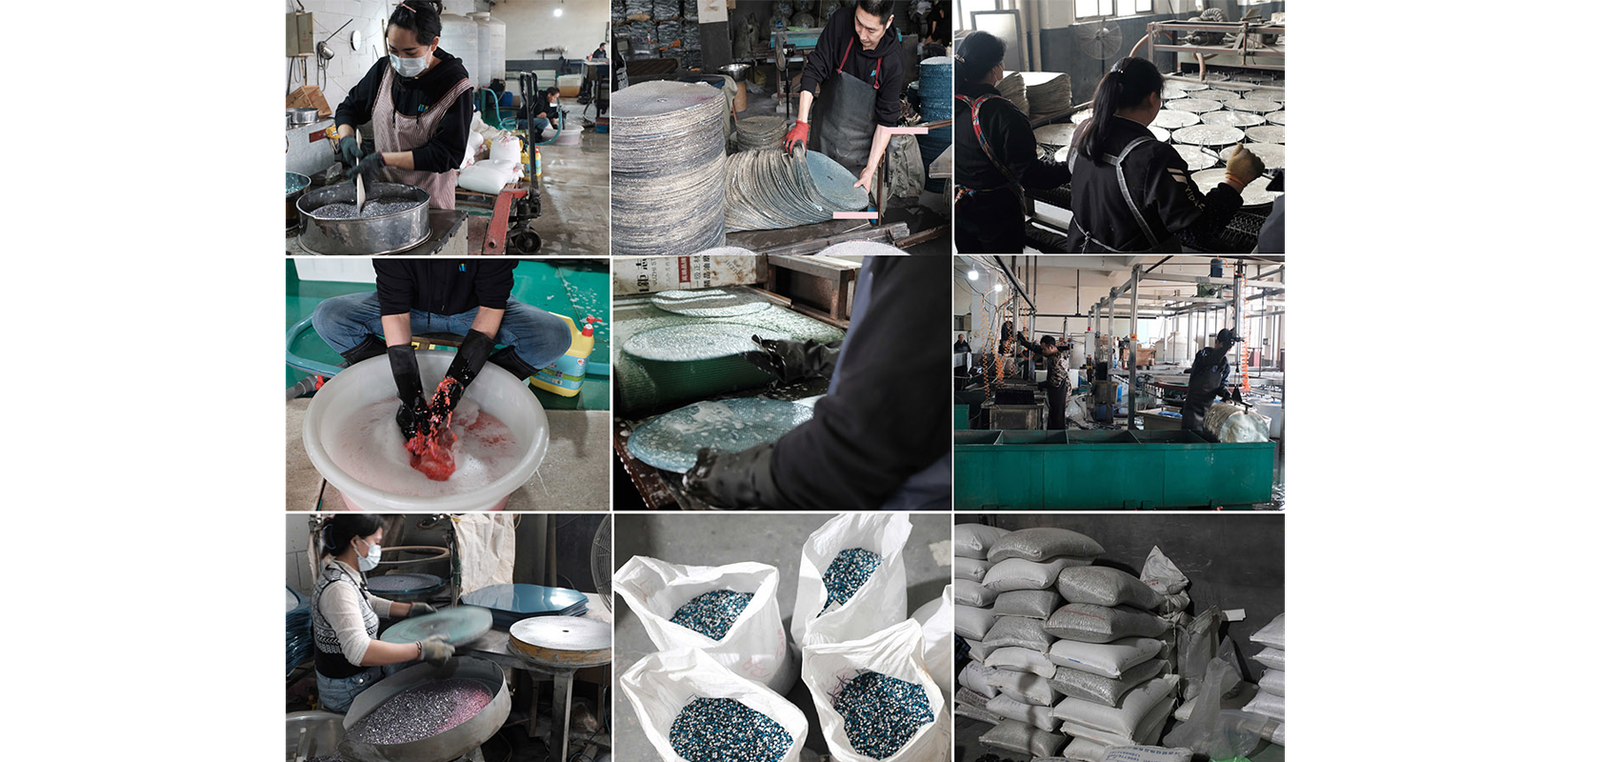
If you decorate clothes at any scale, from a single piece to a full production run, our factory supplies the K9 glass stones that sit at the heart of every iron on design. We machine-cut each stone to 12 to 14 facets, apply AB coating by vacuum deposition, and back every gem with German-imported gray glue rated for 150–170°C so the sparkle survives the wash. Request free samples and test them on your own fabric before you commit. Message us on WhatsApp at +86 13692450325 or email rhinestonewholesale8@gmail.com, and we will send samples and a quote.
New to heat application? Start with our step-by-step guide to applying hotfix rhinestones correctly.
Need a size or color recommendation for your next order? Send us your fabric type, design, and target price — we reply within one business day. WhatsApp +86 13692450325 · rhinestonewholesale8@gmail.com