
How to Apply Flat Back Crystals with Glue Settings and the Right Cure Time
Quick answer Glue flat back crystals by matching the adhesive to the surface, not to the stone. On fabric, use a soft flexible fabric adhesive that stays flexible when dry. On metal, glass, and other hard non-porous surfaces, use a two-part epoxy. Put down a dot slightly smaller than the crystal base, wait 30 to 60 seconds until it turns tacky, then set the stone foil-side down and press straight down. Let the piece sit flat and untouched for 24 to 48 hours, and give anything that meets water or heavy wear a full 72 hours before the first wash.
What Is the Difference Between Hotfix and Non Hotfix Flat Back Crystals
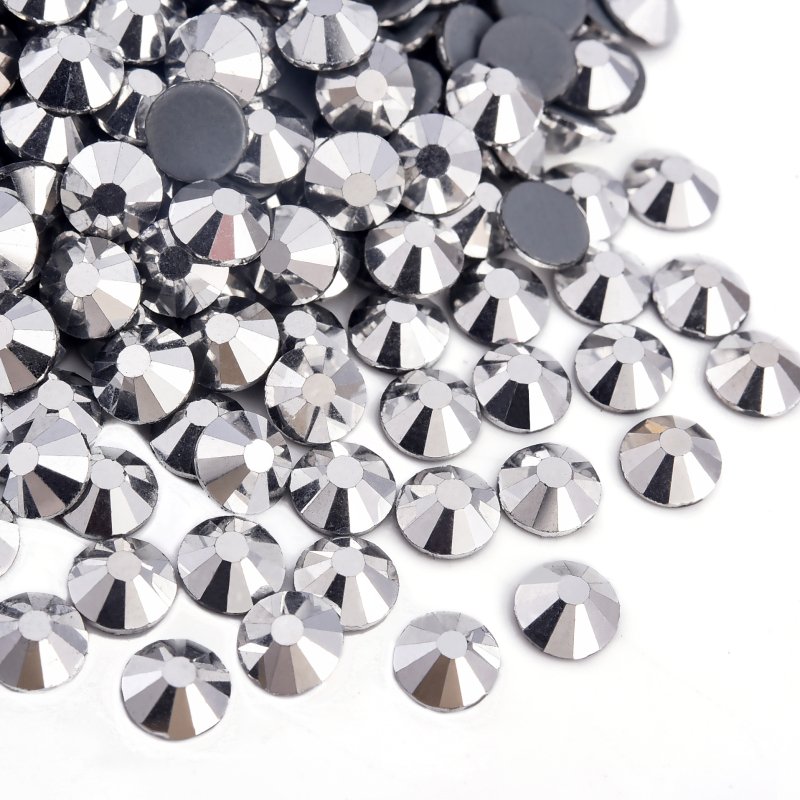
Non hotfix flat back crystals ship with a bare, foil-backed base and no adhesive of their own, so you bond them with glue. Hotfix crystals carry a heat-activated adhesive already on the back. Our hotfix line uses a German-imported grey glue with a 150 to 170°C melting window and a recommended 160°C working temperature. Non hotfix stones hand the entire adhesive decision to you.
That difference shapes everything downstream. With hotfix, you press heat to the fabric and the grey glue melts into the fibre. On cotton that setting runs 165°C at 40 PSI for 15 seconds, on spandex 150°C at 30 PSI for 12 seconds, and on silk a cooler 140°C at 20 PSI for 10 seconds with a barrier sheet. With non hotfix, you are running your own bonding process instead — the glue type, the cure time, and the surface prep all sit in your hands.
If your material takes heat and you want speed at volume, the complete hotfix application guide covers the press settings. If your material cannot take heat, or you want controlled hand placement, you are in the right article.
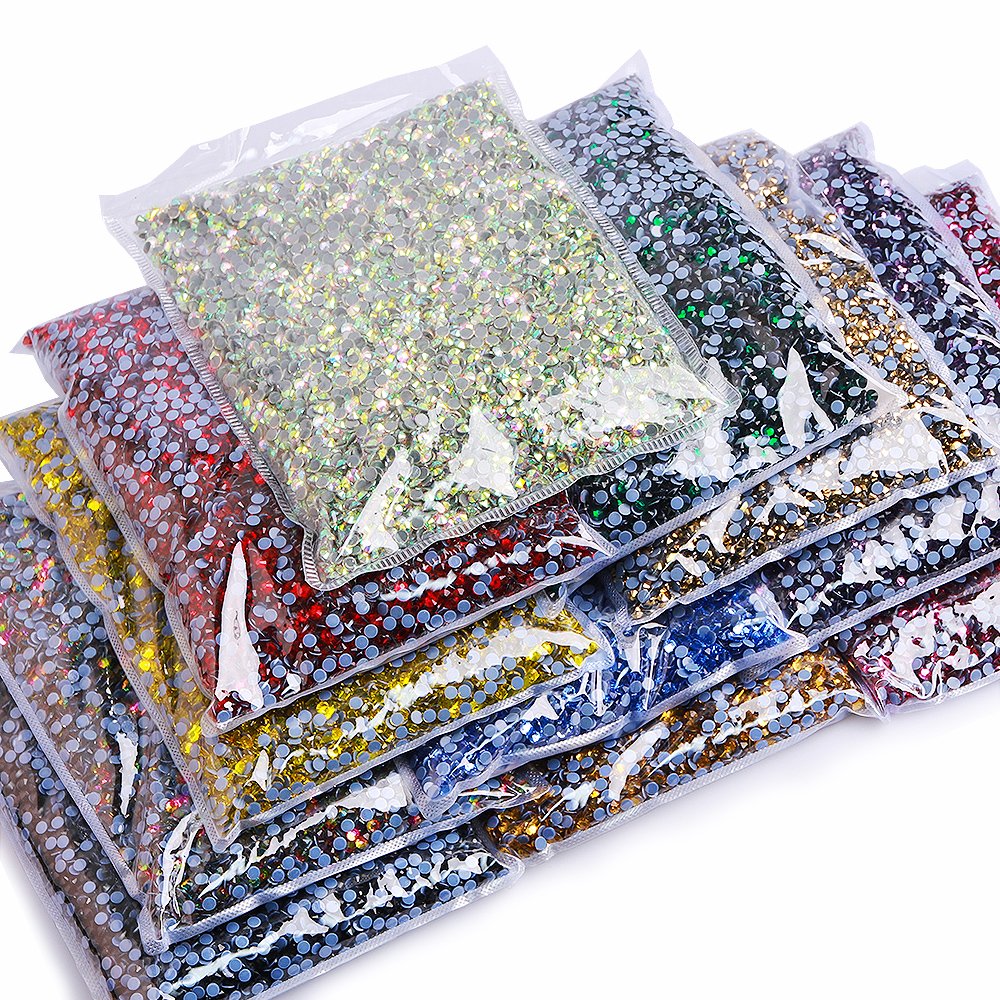
One thing worth knowing before you buy either type. Both start as the same K9 optical crystal blank. We use 100% K9 optical crystal glass with a refractive index around 1.9, 12 to 14 facets, and a Mohs hardness of 6 to 6.5. The real difference at the factory is only the backing. That is also why buying in volume changes what you can get — Wholesale Flatback Rhinestones is where the range opens up, with 400+ stock colours plus Pantone matching, packed at a standard 1440 pcs per bag.
How Do You Apply Flat Back Crystals Step by Step
Choose the glue for the surface, lay a dot slightly smaller than the crystal base, wait 30 to 60 seconds until it turns tacky, then place the stone foil-side down and press straight down. Let it cure flat and untouched for 24 to 48 hours. Five moves — but the order and the timing are what separate a stone that stays for years from one that pops off in the first week.
Here is the part most tutorials skip. A flat back crystal is not a bead. Its entire bonding surface is the mirrored foil coating on the back, the same coating that throws light back through the stone. That single layer does two jobs at once. It decides how much light returns to the eye, and it decides which face your adhesive actually grips.
That is the reason you set the stone foil-side down. Flip it over and you are gluing polished crystal, which almost nothing sticks to well. Keep it foil-side down and the adhesive bonds to a treated metal coating that accepts glue far more evenly. The backing also changes how the stone reads. A silver backing keeps the crystal neutral and returns white light. A gold backing warms the tone. An AB backing adds that shifting rainbow flash, because of the vacuum-deposited layer built into the foil. Same crystal body, different return.
Work in small runs of five to fifteen stones, left to right, straightening as you go. Do not slide a stone once it touches down. Sliding pushes glue up the sidewalls and destroys the sealed edge that stops a stone snagging on fabric or a fingernail.
Mixing sizes is the fastest way to make a design look intentional rather than machine-stamped. Four or five sizes in one cluster reads as denser than a single size repeated, and it fills gaps naturally. The SS6 to SS30 size reference has the full chart, but the short version is:
| Size | Diameter | Typical role in a glue-on design |
|---|---|---|
| SS6 | 2.0 mm | Fill and outline work, dense clusters |
| SS10 | 2.8 mm | Best all-rounder for mixed clusters |
| SS16 | 4.0 mm | Focal stones on bodices and panels |
| SS20 | 4.8 mm | Larger accents and centre pieces |
| SS30 | 6.4 mm | Statement stones, used sparingly |
What Glue Is Best for Flat Back Crystals on Fabric
On fabric, use a soft flexible fabric adhesive that stays flexible after it dries. A rigid glue cracks the moment the garment bends, and every crack is a stone waiting to fall. Two adhesives to avoid on fabric are a cyanoacrylate super glue, which fogs the crystal surface, and a hot glue stick, which cures hard and brittle and lets go under flex.
The table below is the one page you actually need on the bench. Read it as surface first, adhesive second, cure last — because the surface decides the glue, and the glue decides how long you must wait.
| Surface | Adhesive to use | Cure before use |
|---|---|---|
| Cotton, denim, felt, wool | Soft flexible fabric adhesive | 24-48 h, dry 48 h before first wash |
| Spandex, lycra, stretch knits | Soft flexible fabric adhesive | 24-48 h, stretch fabric slightly taut |
| Silk and heat-sensitive fabric | Soft flexible fabric adhesive | 24-48 h, keep the piece flat |
| Metal, glass, ceramic | Two-part epoxy | 24-48 h, 72 h if it meets water |
| Smooth plastic | Two-part epoxy after a light scuff | 24-48 h |
| Leather | Flexible fabric adhesive or epoxy | 24-48 h |
Two small habits decide most of the outcome. First, apply a dot slightly smaller than the base, so that when you press the stone the glue just reaches the edges. Too little glue and the stone is only held at the centre. Too much and it squeezes up the sidewalls, dulling the sparkle and trapping a rim you cannot clean. Second, if the fabric has been through a wash before you start, skip the fabric softener on that load. Softener leaves a slick film that fights every adhesive we have seen.
What Glue Should You Use for Flat Back Crystals on Metal and Glass
On metal, glass, and other hard non-porous surfaces, use a two-part epoxy. It cures into a hard, water-resistant bond that a flexible fabric adhesive simply cannot match on a slick surface. Clean the area with isopropyl alcohol first and lightly scuff glossy metal or glass so the epoxy has something to bite into.
The reason epoxy wins here is mechanical. Fabric grabs a soft adhesive through its fibres, but metal and glass offer nothing to hold. A two-part epoxy cures rigid and grips a prepared surface, which is why it is the right call for buckle hardware, bag clasps, and anything a customer will touch constantly. The trade-off is that a rigid epoxy bond will crack on a surface that must flex, so keep it away from stretch garments.
Here is how the four common options compare, so you can rule out the wrong one quickly:
| Adhesive type | Best for | How it cures | Avoid it when |
|---|---|---|---|
| Soft flexible fabric adhesive | Fabric, leather, stretch wear | Flexible | Hard, non-porous surfaces |
| Two-part epoxy | Metal, glass, ceramic, water contact | Hard, water-resistant | The surface must flex |
| Cyanoacrylate super glue | Nothing in crystal work | Brittle, fogs the stone | Any crystal application |
| Hot glue stick | Nothing in crystal work | Hard and brittle | Anything that flexes or warms up |
How Long Does Flat Back Glue Take to Cure
Plan on 10 to 20 minutes of surface dry time, 24 to 48 hours to full handling cure, and a full 72 hours for anything that meets water or carries load. Keep the first wash at least 48 hours away, and keep the piece flat and dry until then.
Cure time is where beginners lose the most stones, because the glue feels set long before it is strong. A soft fabric adhesive skins over in 10 to 20 minutes, but that skin is not the bond. Full working strength arrives somewhere between 24 and 48 hours. Water exposure and repeated load are harder on a bond than dry wear, so those get the 72-hour version. Treat the numbers below as the minimum, not the target.
| Stage | Time | What it means for you |
|---|---|---|
| Tack time | 30-60 s | Glue is tacky, place the stone now |
| Surface dry | 10-20 min | Do not disturb the placement |
| Handling cure | 24-48 h | Wearable, but not water-ready |
| Full cure | 24-48 h | Bond reaches working strength |
| Water or load bearing | 72 h | Full strength for wash and wear |
| Before first wash | 48 h minimum | Keep it dry and flat |
Warm rooms speed a soft adhesive up a little. Cold rooms slow it down. Neither changes the rule that the bond is not done until the clock says so, and no amount of handling will make it finish faster.
What Tools Do You Need to Apply Flat Back Crystals
For hand work you need a wax picker or picker pen, a pair of fine tweezers, a sorting tray, and a fine-tip nozzle or syringe for controlled glue. Add good light and ventilation. For batch work you swap fingers and eyeballs for a placement template, a sorting tray per size, and a simple jig to hold the panel still.
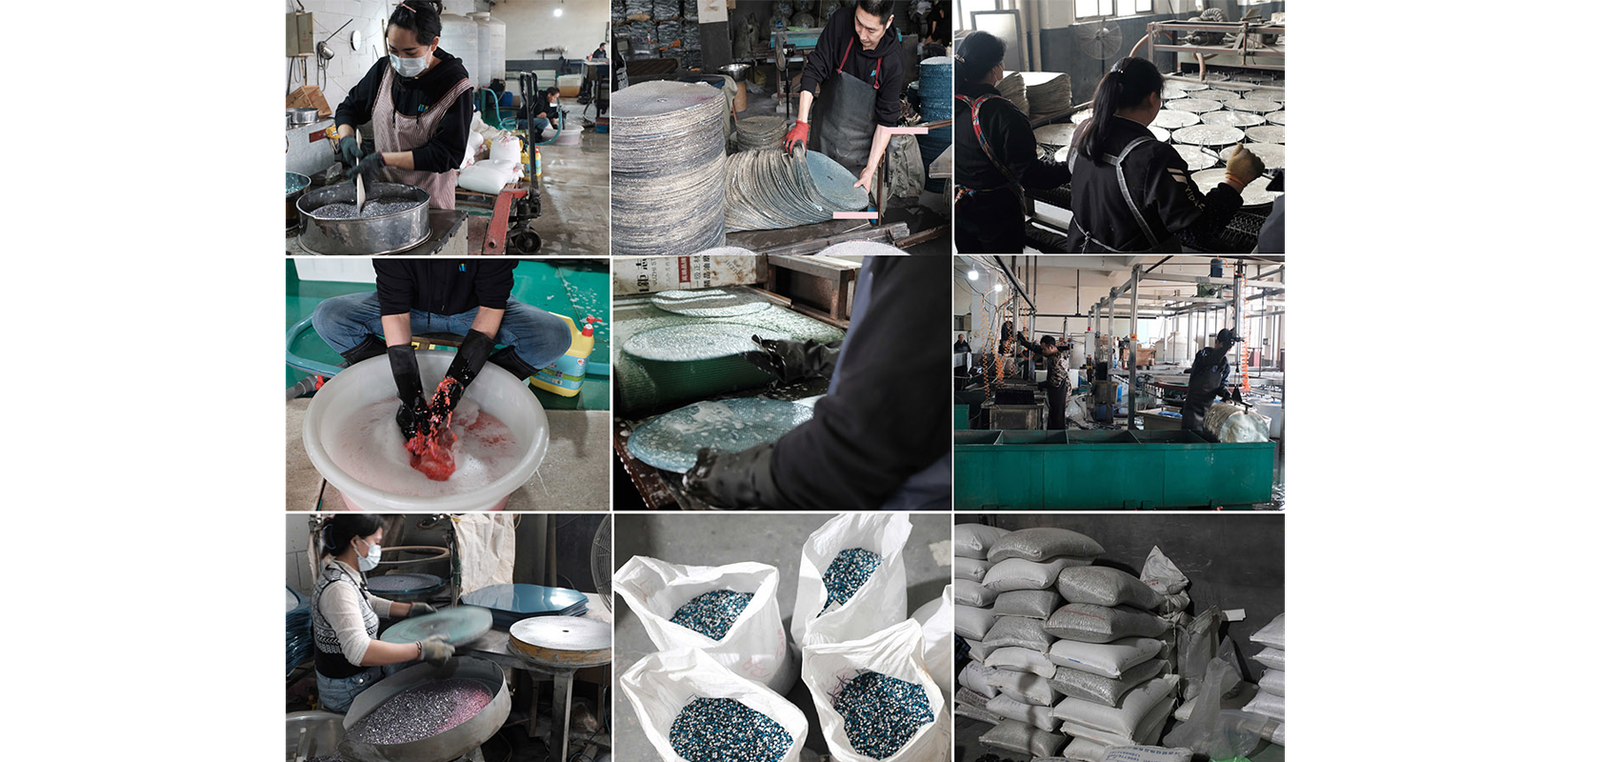
The jump from one-off to batch is where a factory approach pays off, and it is the part retailers never show you. In a bulk run we lay the design out as an adhesive template, so an operator fills positions instead of reading a sketch. Each size gets its own sorting tray, which kills the two mistakes that cost the most time — grabbing the wrong size and hunting for a stone. A flat jig or board holds the panel so it cannot shift mid-run, and the whole line works left to right so the glue tack window stays inside reach.
Quality control in a batch run is mostly about the bond, not the shine. We check that the glue reaches the stone edge, that no stone rocks under a light press, and that placements sit square to the line. A stone that slides or floats at inspection is a stone that falls at the customer’s first wear.
How Do You Stop Flat Back Crystals From Falling Off
A stone falls off for one of four reasons — a dirty surface, the wrong glue, too little glue, or a rush through the cure. Fix the surface first, match the glue to the material, press until the glue just reaches the edge, and respect the cure clock. Almost every failure traces back to one of those four.
Start with the surface, because it is the cheapest fix. Wipe hard surfaces with isopropyl alcohol to lift oils and mould release. On ultra-smooth plastic or glass, scuff lightly so the adhesive has texture to hold. On fabric, wash without softener and dry fully before you begin. A clean, slightly textured surface can double how long a bond lasts, and it costs you nothing.
Rushing the cure is the quiet killer. A piece that feels dry in ten minutes feels strong to your fingers, but the bond underneath is still soft. Move it, flex it, or wash it inside the first 24 hours and you break bonds that had not formed yet. If you are chasing why a batch failed, the field guide to rhinestone peeling under industrial washing breaks down the failure patterns surface by surface.
Can You Wash Items With Glued On Flat Back Crystals
Yes, but gently. Hand wash in cold water, turn the item inside out, skip fabric softener, and air dry flat. Keep the item out of the dryer. Treat the first wash as a test rather than a routine, and check the bond afterwards before the next one.
Here is the honest boundary, and it is the one most glue-on guides blur. The durability of a glued-on flat back crystal depends on the adhesive and your prep, not on the stone. That means you cannot borrow the wash numbers from hotfix work. Our hotfix line, with K9 crystal and German grey glue, is tested to ISO 6330:2021 — 50 machine washes at a 40°C normal cycle with under 2% stone loss. That figure belongs to a heat-set bond tested on fabric. It does not transfer to a hand-glued stone on a plastic clasp, and we will not pretend it does.
What glue-on work is genuinely good at is reach. It goes where heat cannot — metal, glass, leather, heat-sensitive fabric — and it lets you place a single stone exactly where a press could never aim. Match the adhesive to the job, respect the cure, and set your expectation by the bond you actually built.
When Are Glue On Flat Back Crystals the Wrong Choice
Glue-on is the wrong choice when you are decorating heat-tolerant fabric at production volume, or when a bond has to survive repeated machine washing without a customer thinking about it. In those cases, hotfix is faster, more consistent, and backed by a wash-tested bond. Reach for glue-on when the material cannot take heat, or when the design calls for accurate hand placement.
There is a second honest case. If you are gluing onto a surface that will sit in water long term, glue-on only works with a two-part epoxy and a full 72-hour cure, and even then you are building a bond to a rigid surface, not a piece of clothing. A drinking flask or a shower panel is not the same job as a garment trim. Say so to your own customer before they find out the hard way.
For buyers weighing a first order, a few factory facts help you plan. A standard bag is 1440 pcs, the minimum order is 2 bags per single colour and single size, stock colours ship the same day they are ordered, and custom runs ship in 7 to 15 days depending on quantity. Glass rhinestones sit under HS code 7018.10 at customs. If you are sourcing rather than crafting, start from Wholesale Flatback Rhinestones and ask for a quote against your actual sizes.
For a 12-hour quote on flat back crystals and a free sample, message us on WhatsApp at wa.me/8613692450325 or email rhinestonewholesale8@gmail.com.
Need a size or color recommendation for your next order? Send us your fabric type, design, and target price — we reply within one business day. WhatsApp +86 13692450325 · rhinestonewholesale8@gmail.com